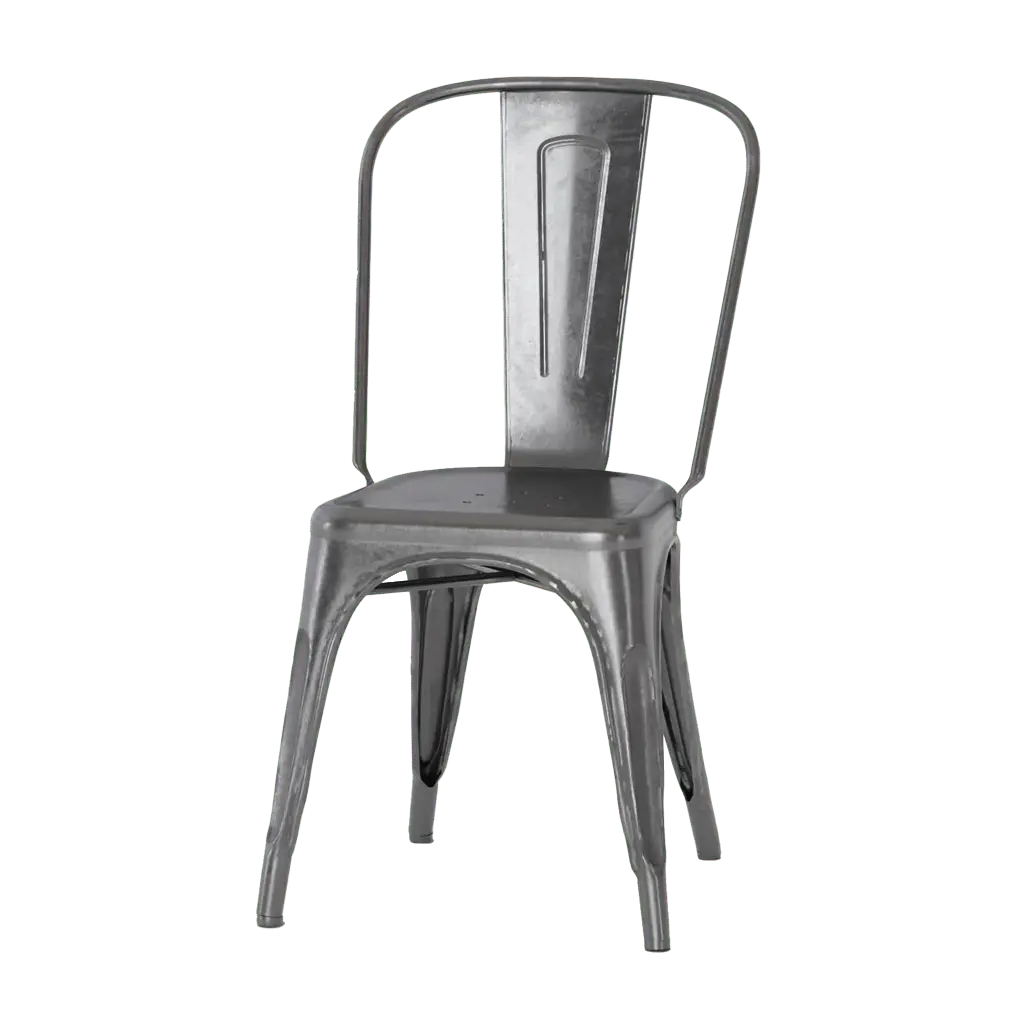
I only have photos of my product. Is that enough?+
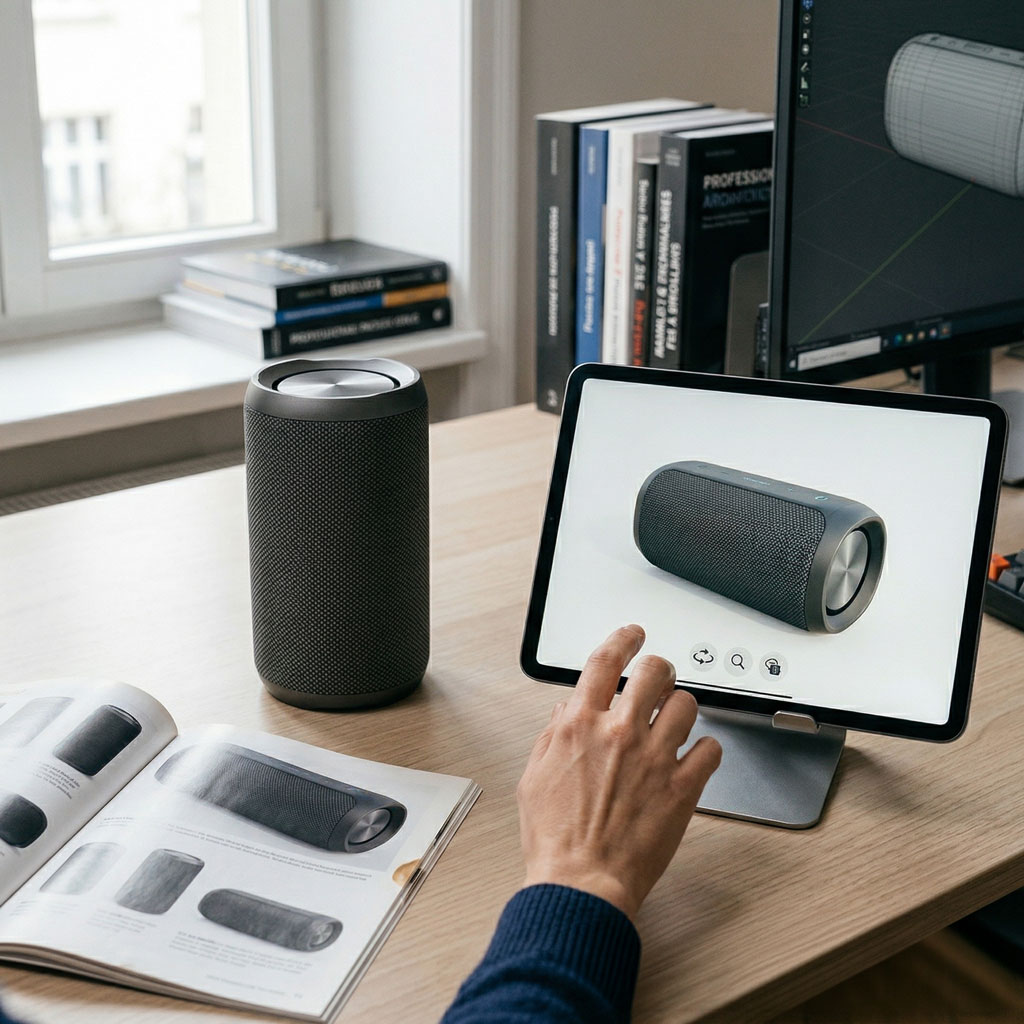
Yes, in most cases. We need front, side and top shots to reconstruct the exact proportions. The more you send us, the more accurate the model will be. We tell you exactly what we need after the first exchange.
How long does it take to model a product?+
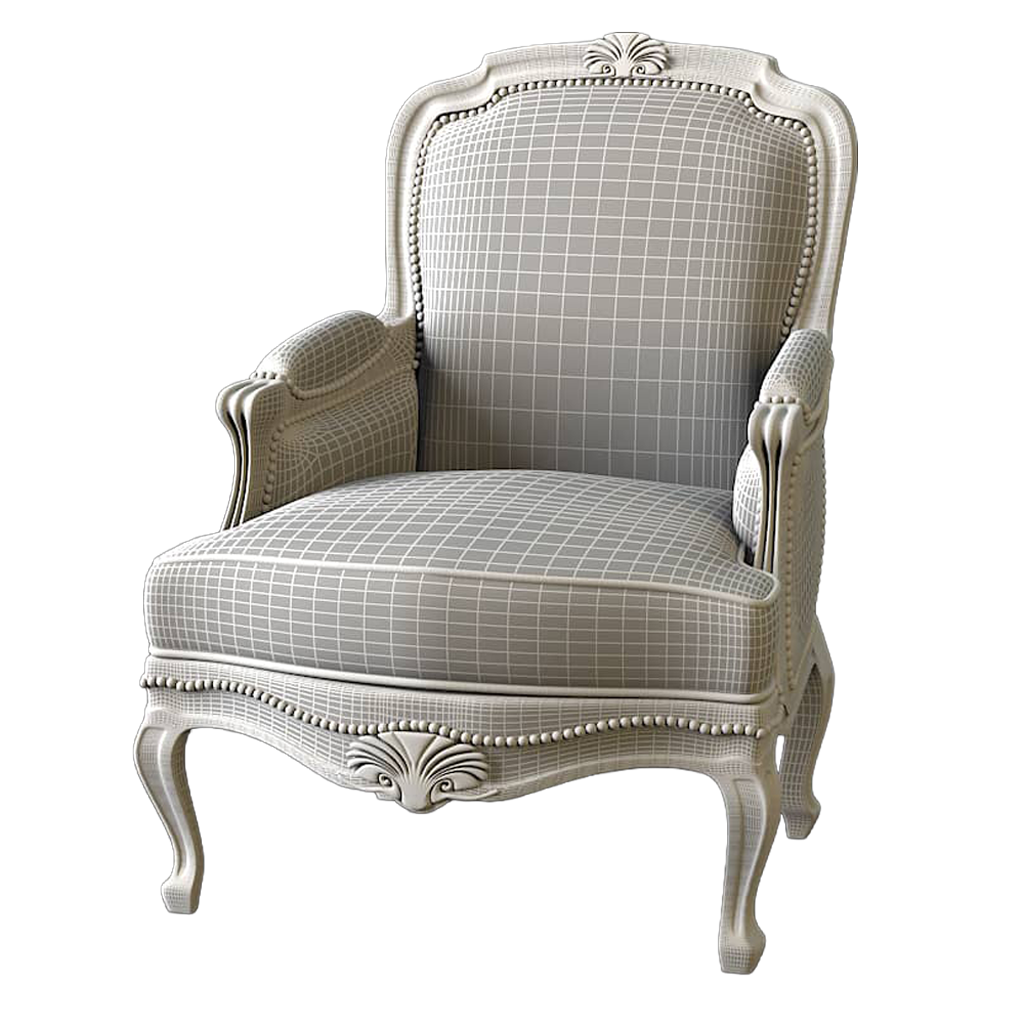
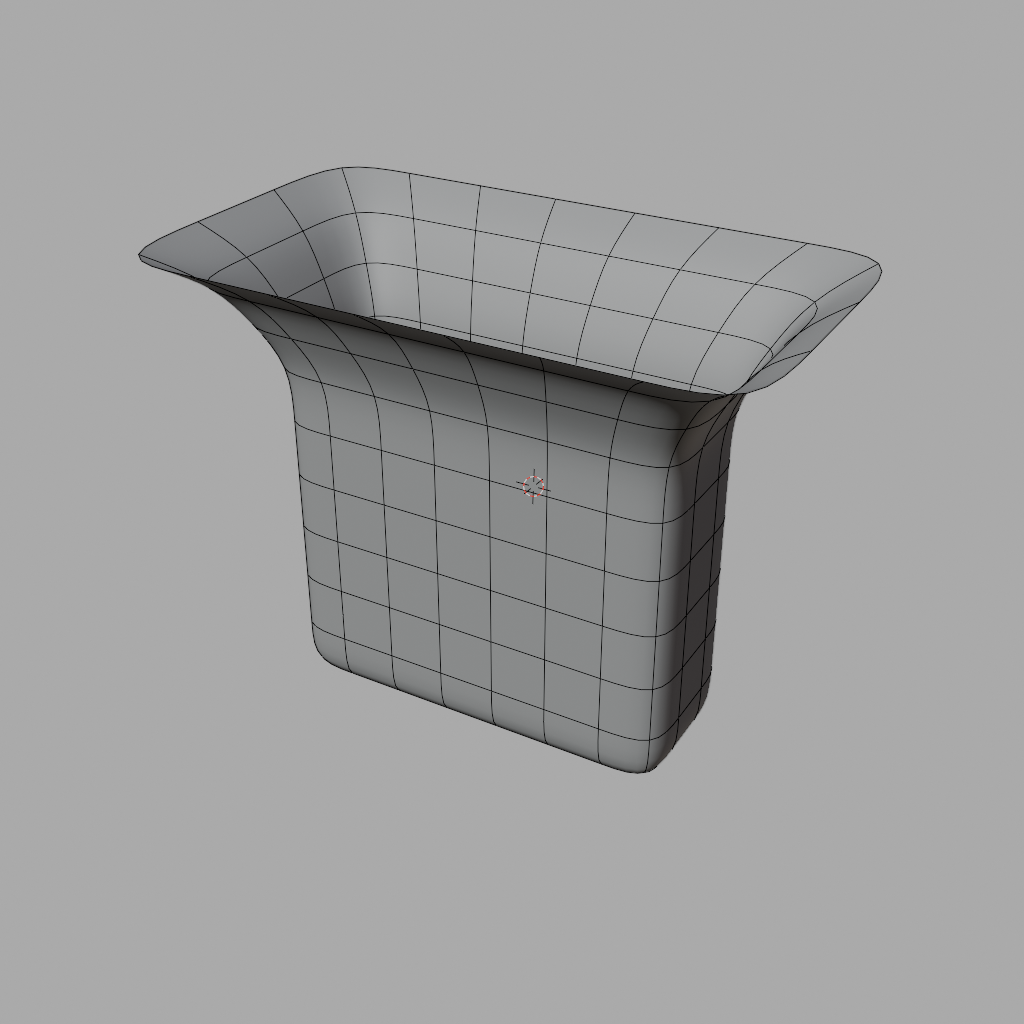
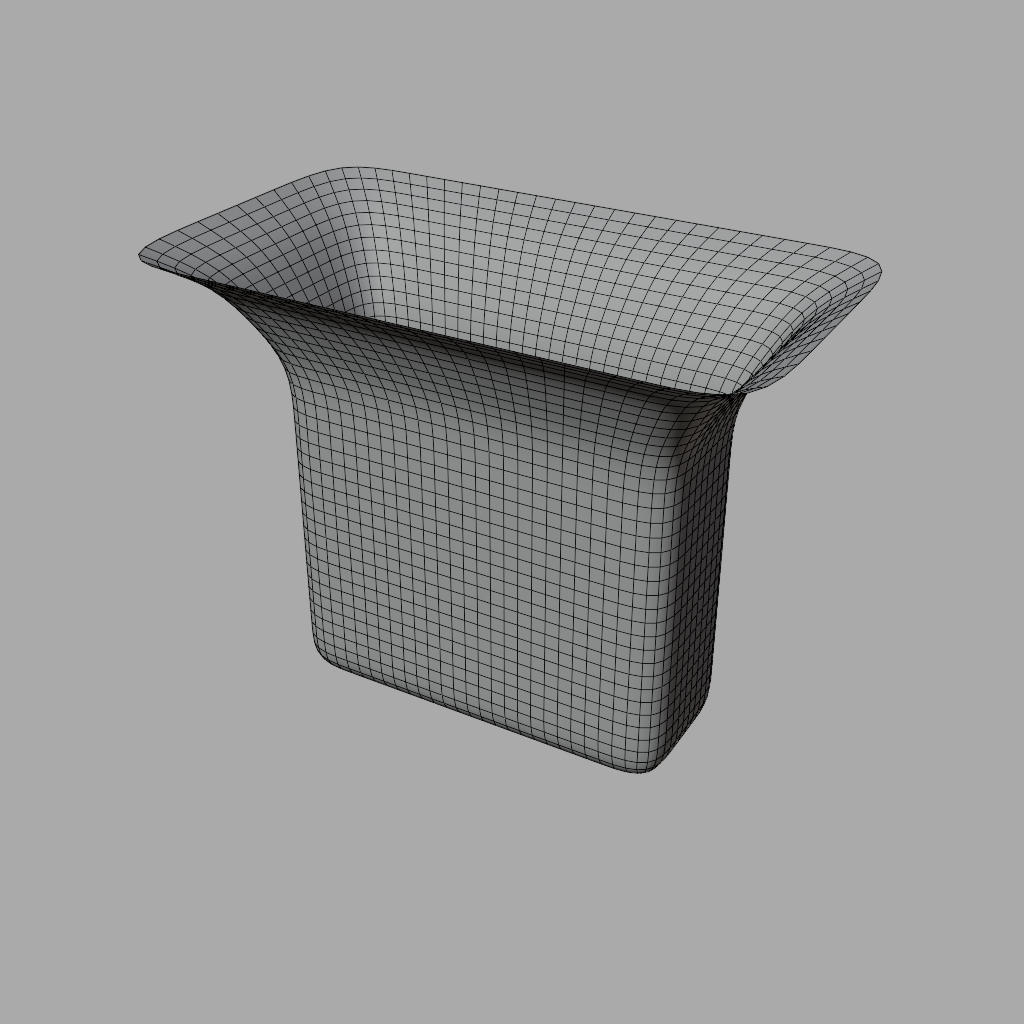
Between 3 and 10 days depending on the complexity of the product. A simple object (cushion, vase) takes less time than a piece of furniture with sculpted details. We give you a precise estimate after analysing your references.
Do the 3D models belong to us?+
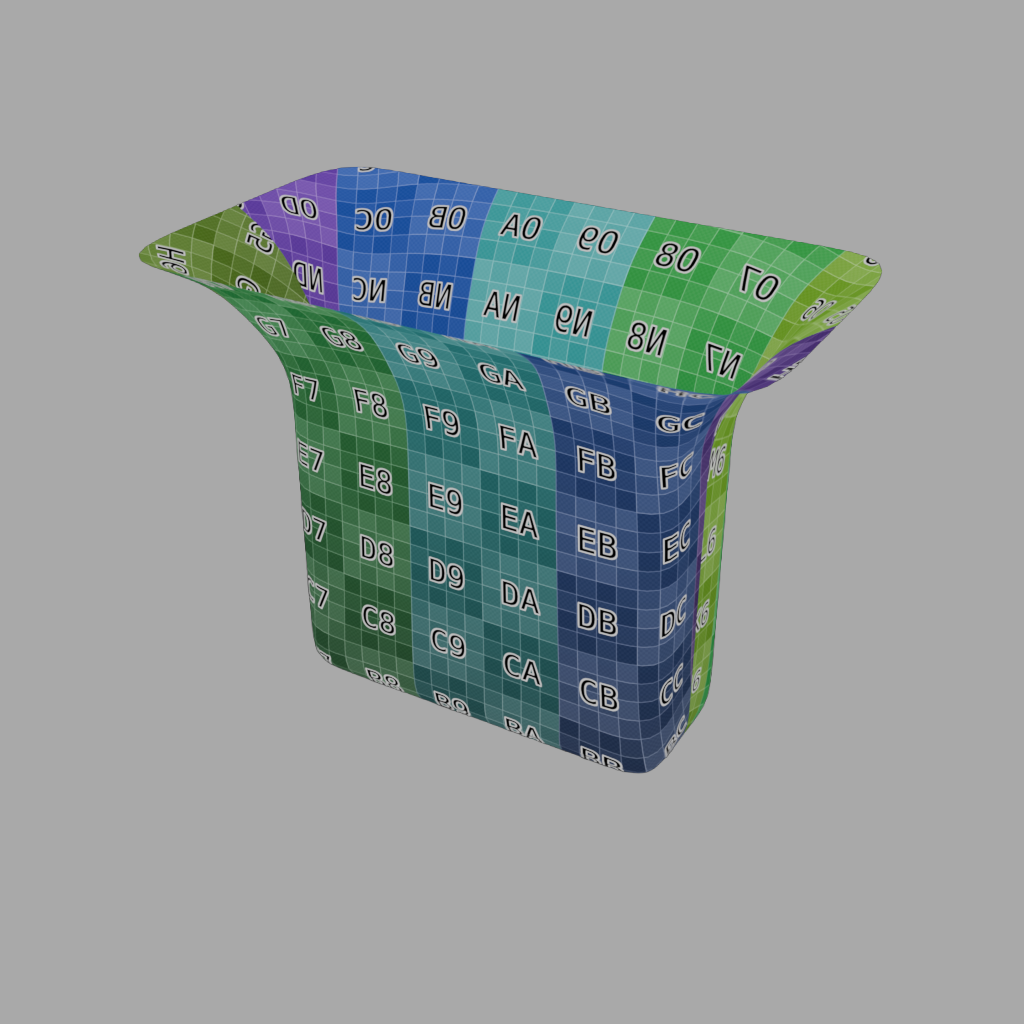
Yes, absolutely. All files are handed over to you on delivery — GLB, OBJ, FBX — along with all texture files. You can use them on any platform, for marketing or print. No dependency on 3DVue.
What input file formats do you accept?+
We accept all common formats: SolidWorks, SketchUp, Blender, 3ds Max, Cinema 4D, OBJ, FBX, STL — as well as photos or technical drawings. If you have nothing, we start from scratch.
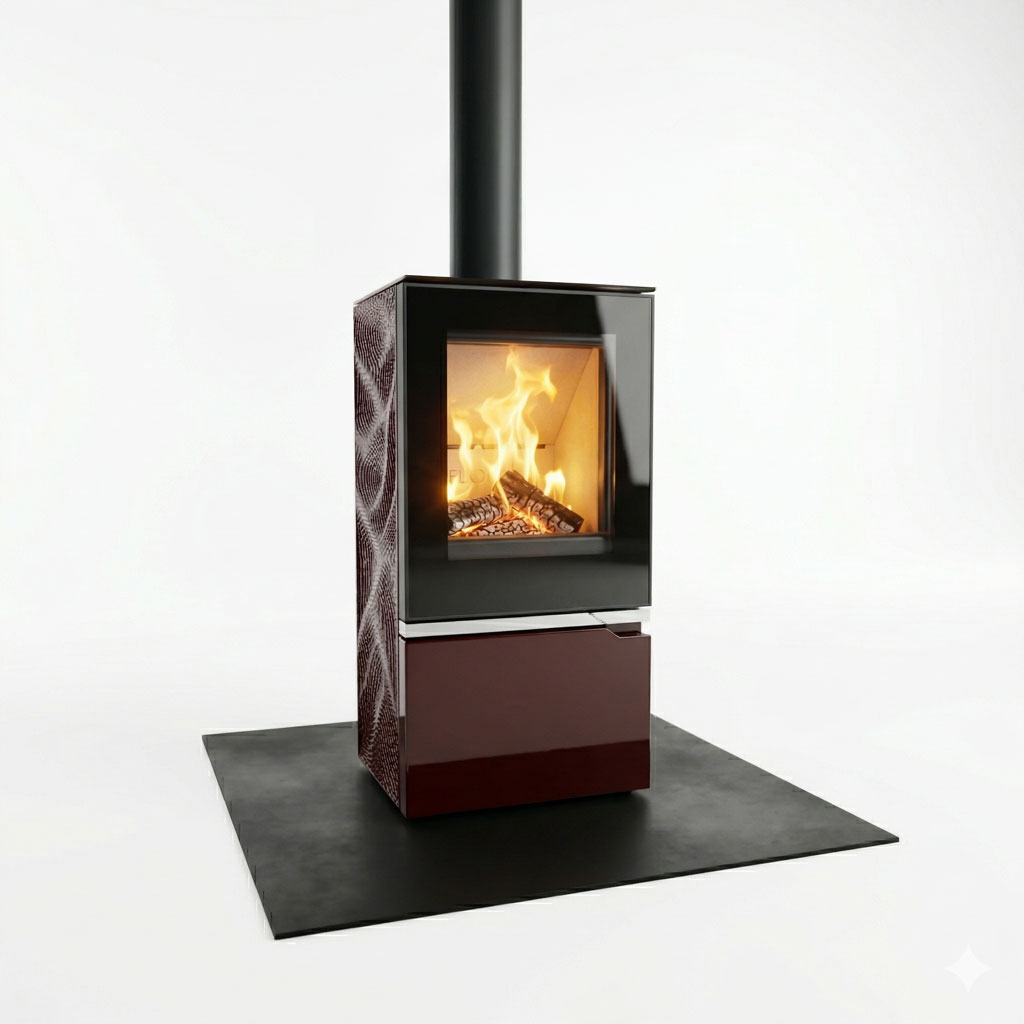
Are the models optimised for the web?+
That is our priority. A model that is too heavy slows your site and degrades the customer experience. We strike the right balance between photorealistic rendering and fast loading — compatible with mobile, tablet and augmented reality.
Can a whole catalogue be modelled?+
Yes. We work on a single product as well as on catalogues of several dozen references. The larger the volume, the more we can optimise the cost per model. Tell us about your catalogue at the first meeting.
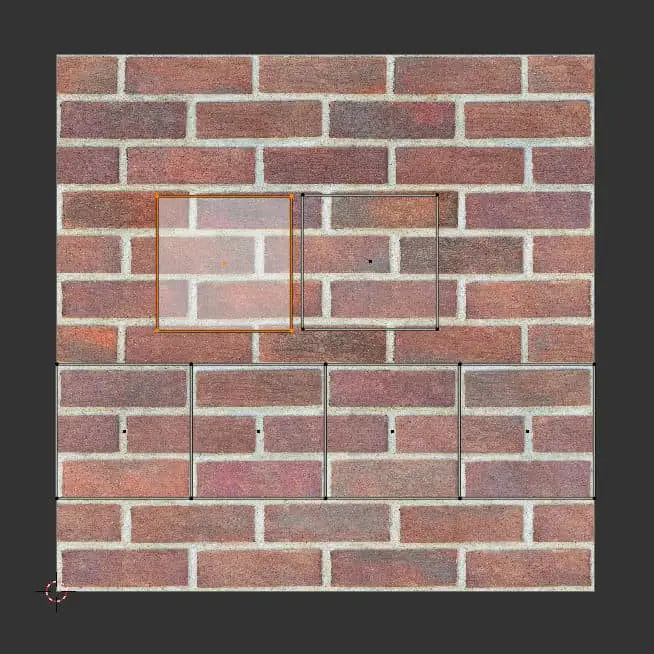
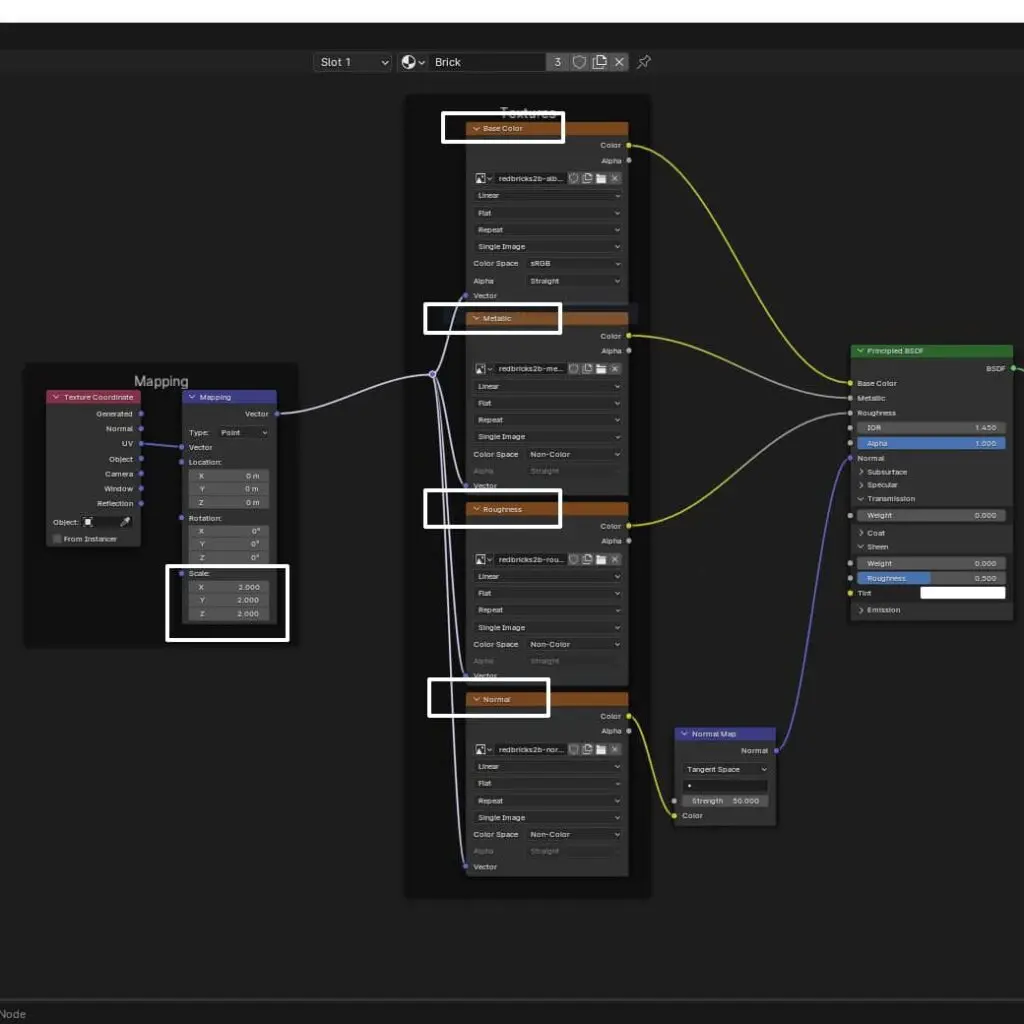
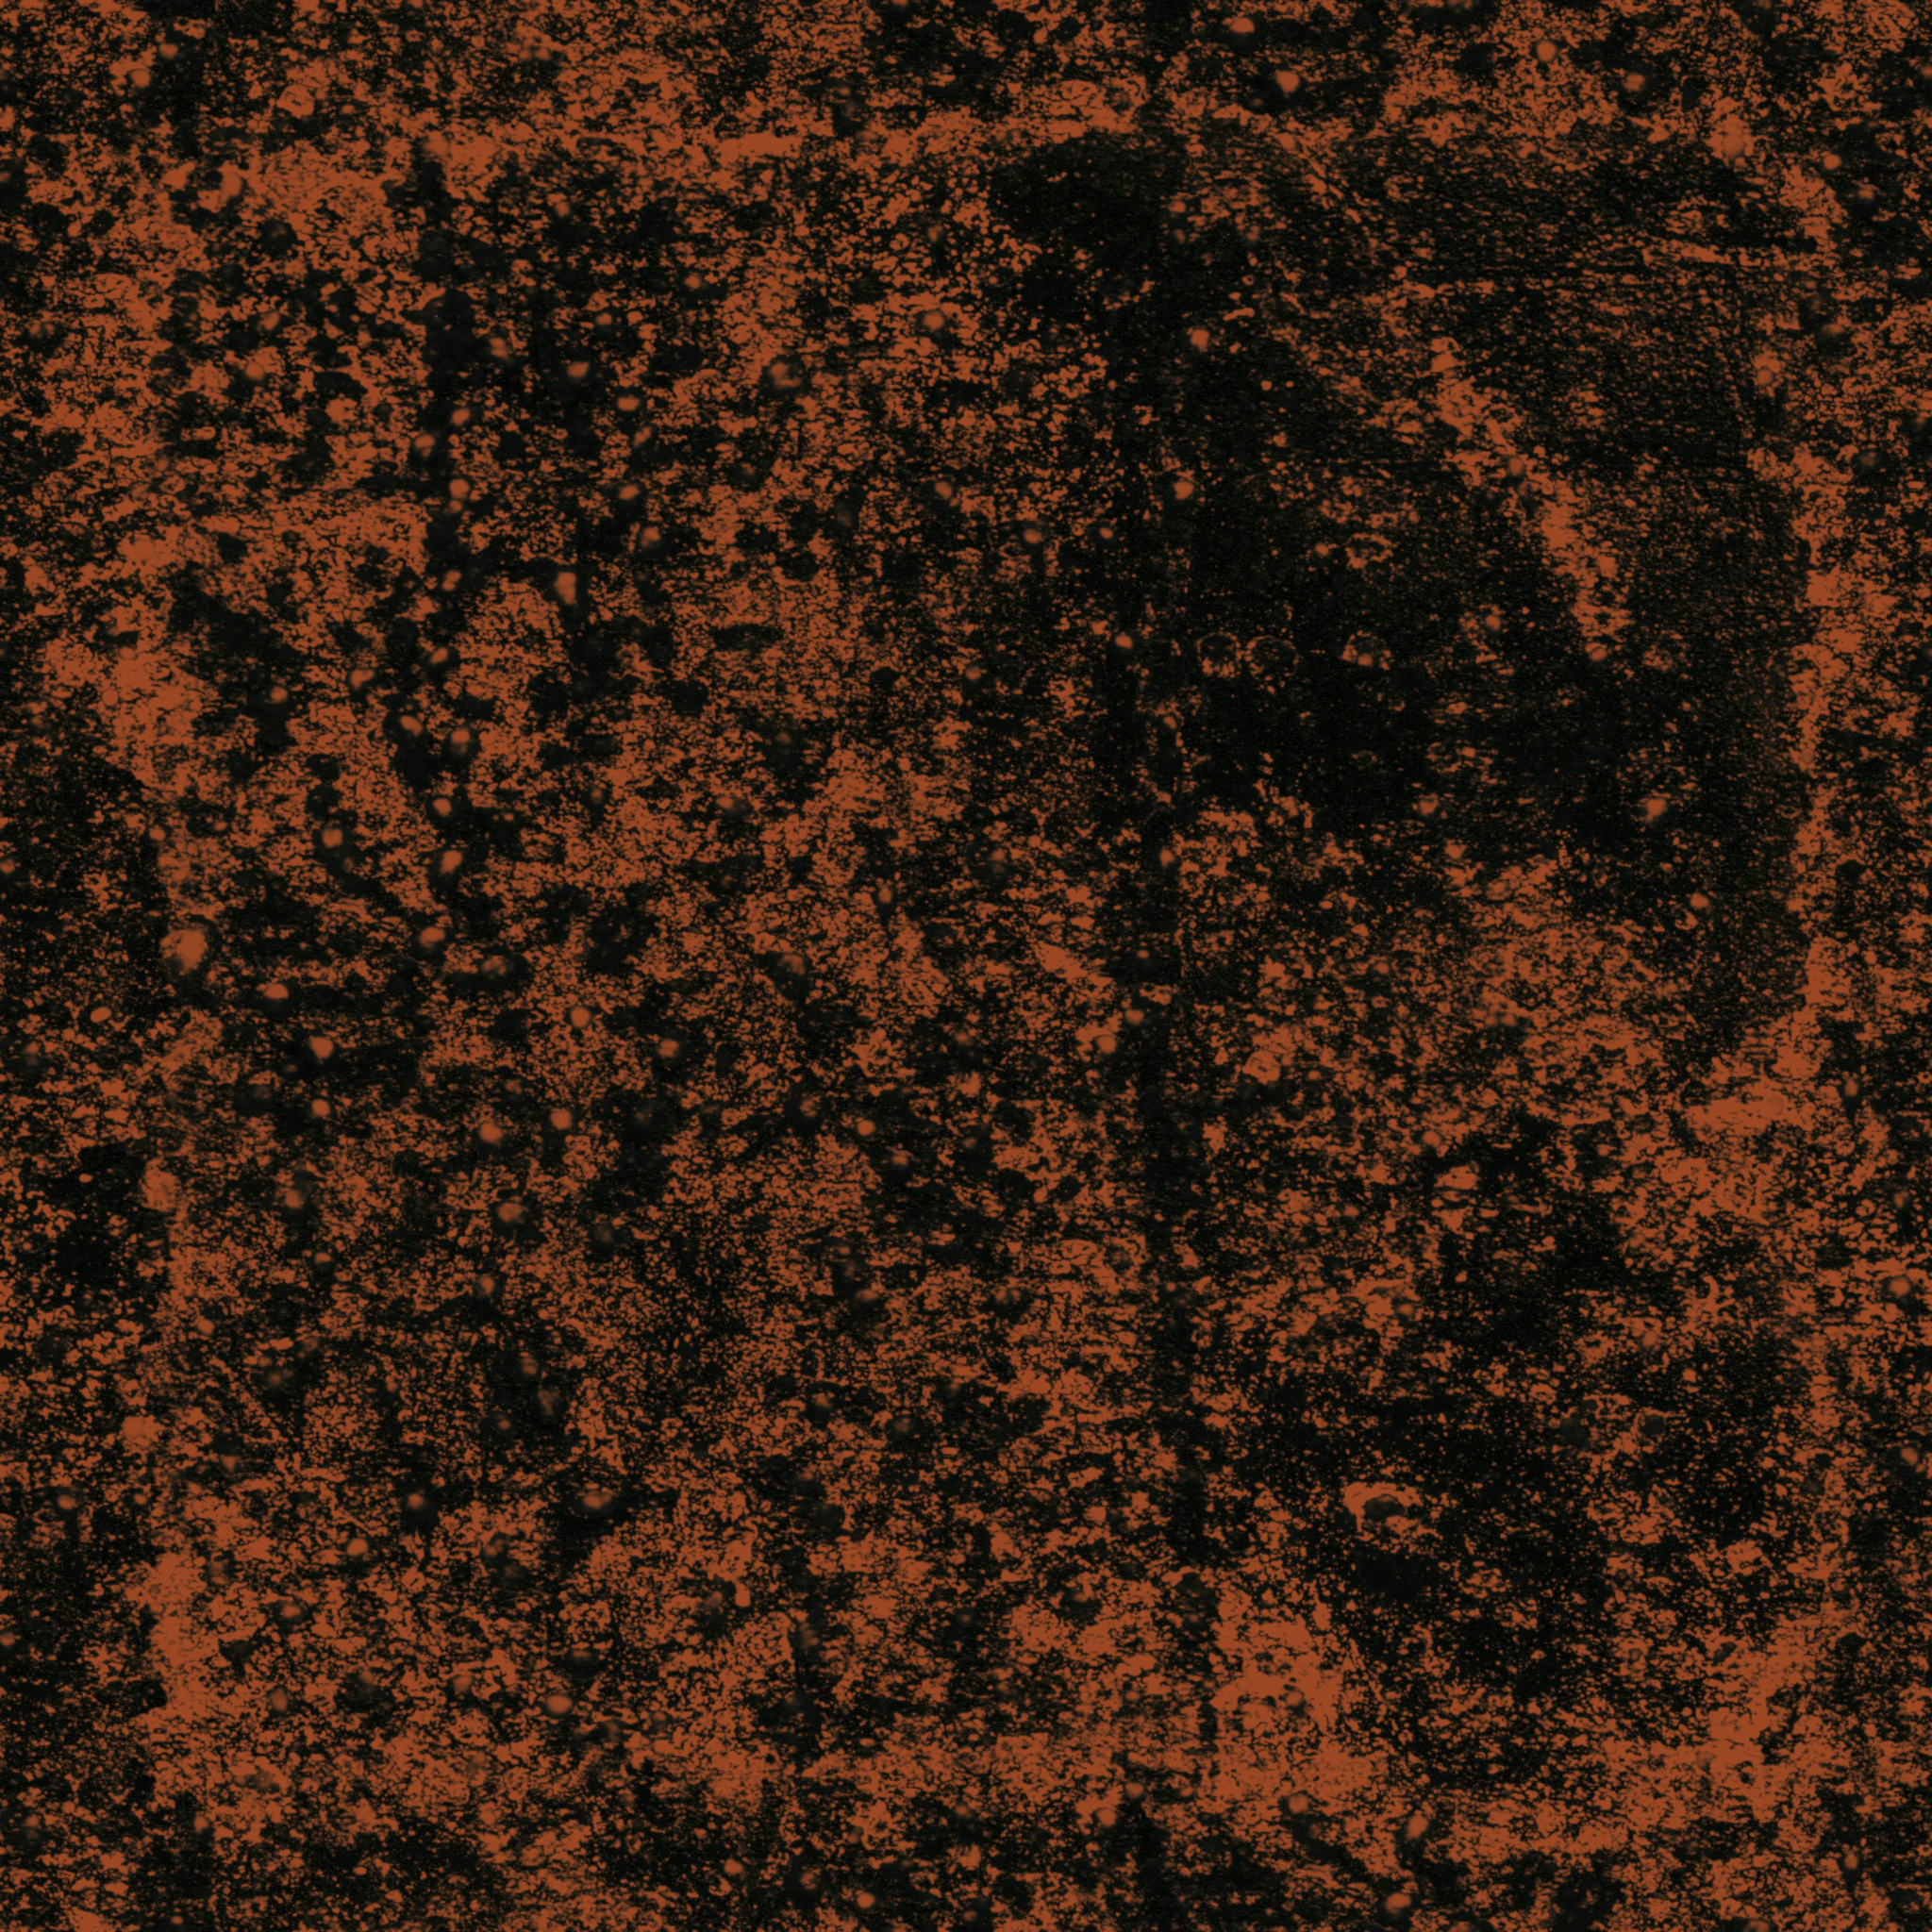
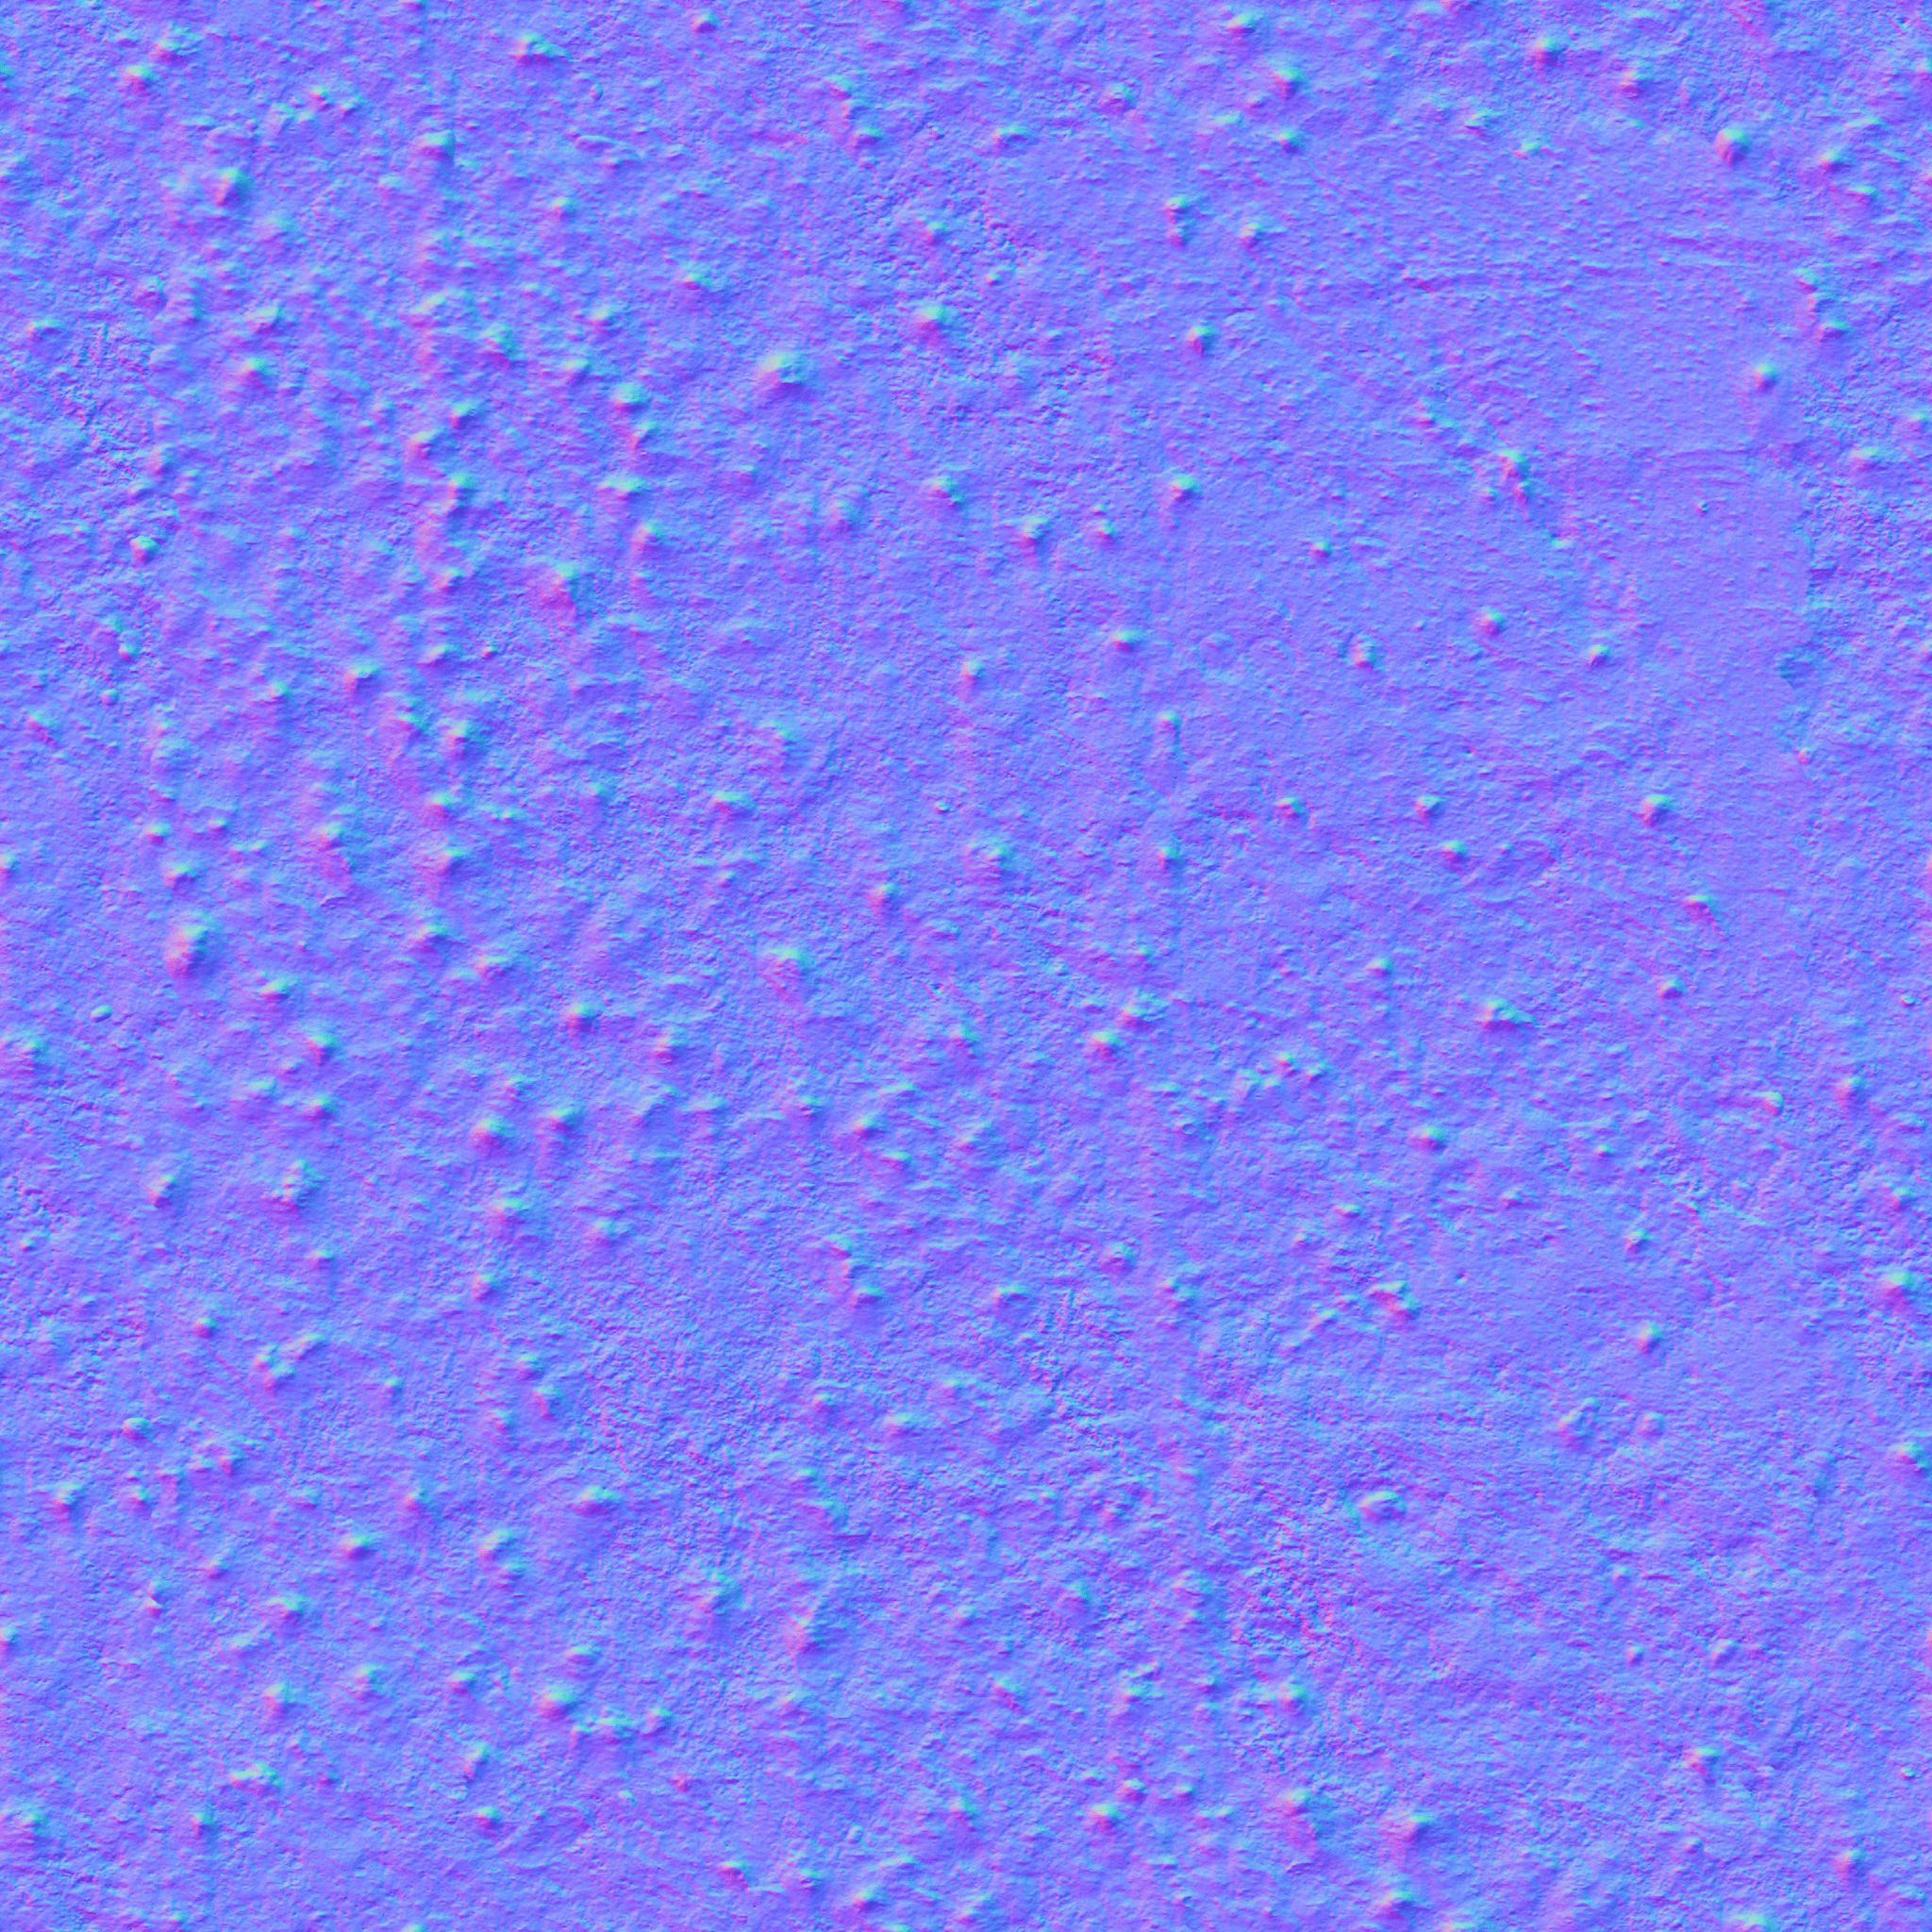
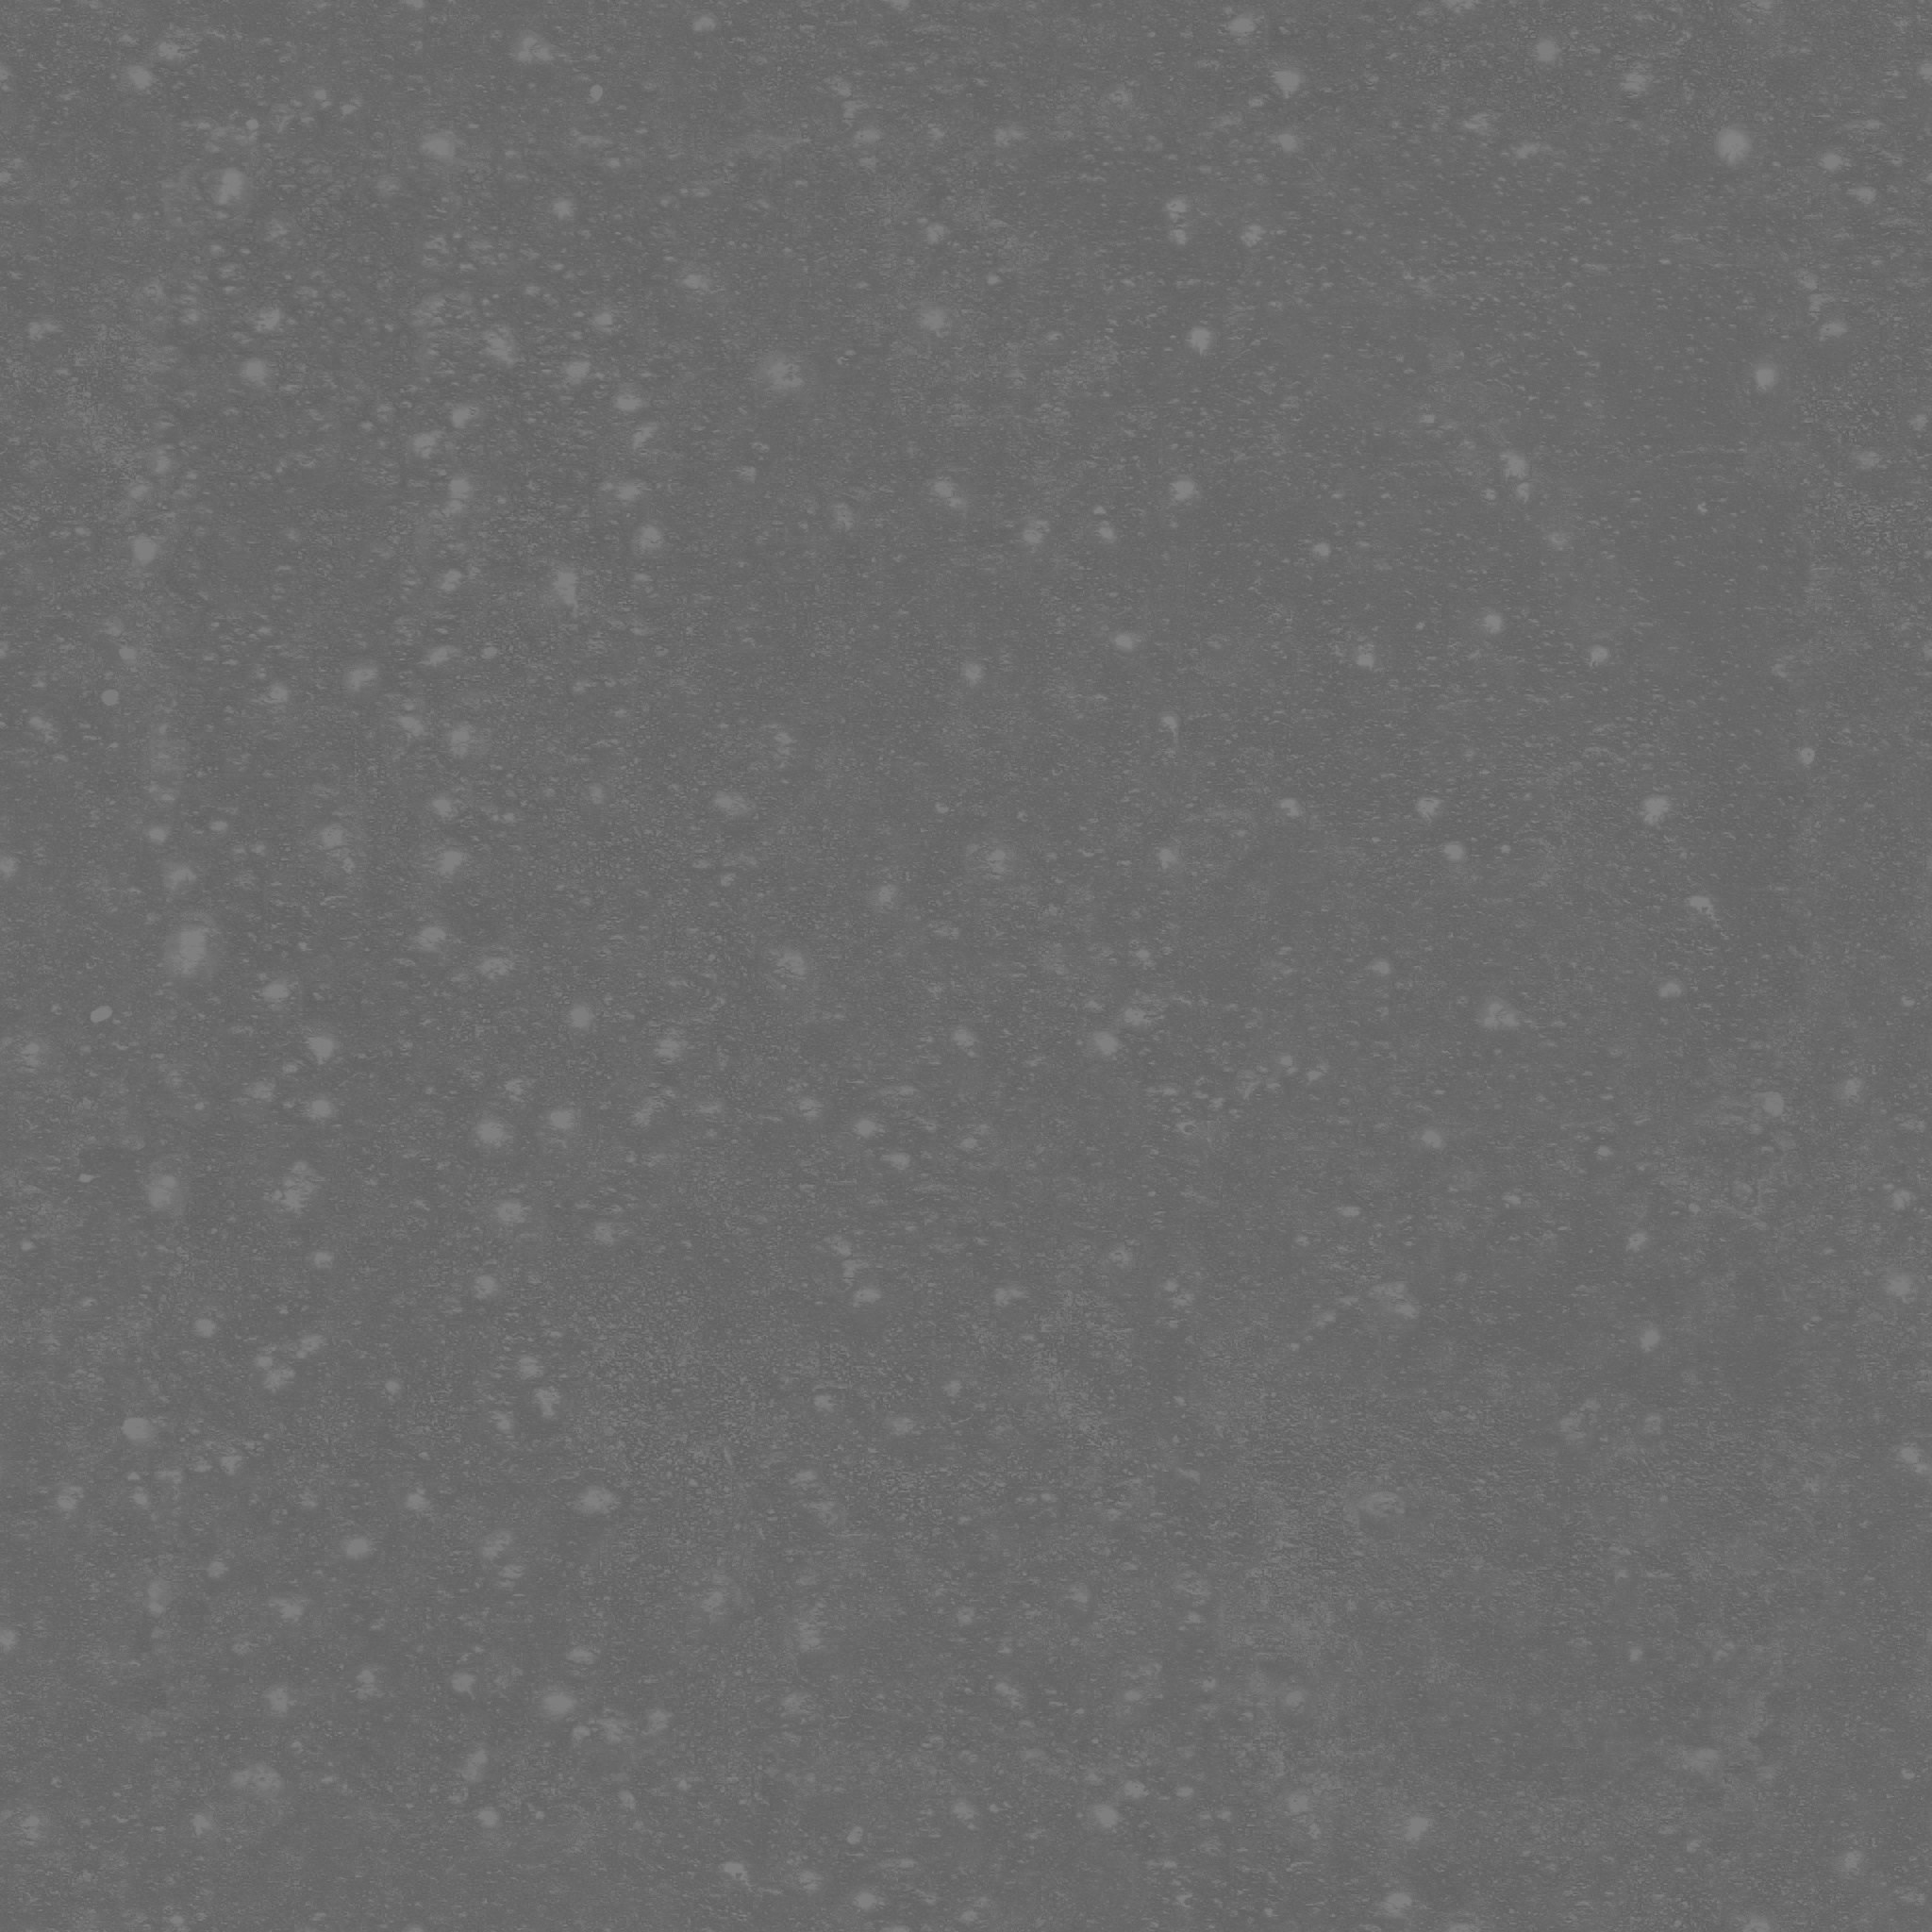
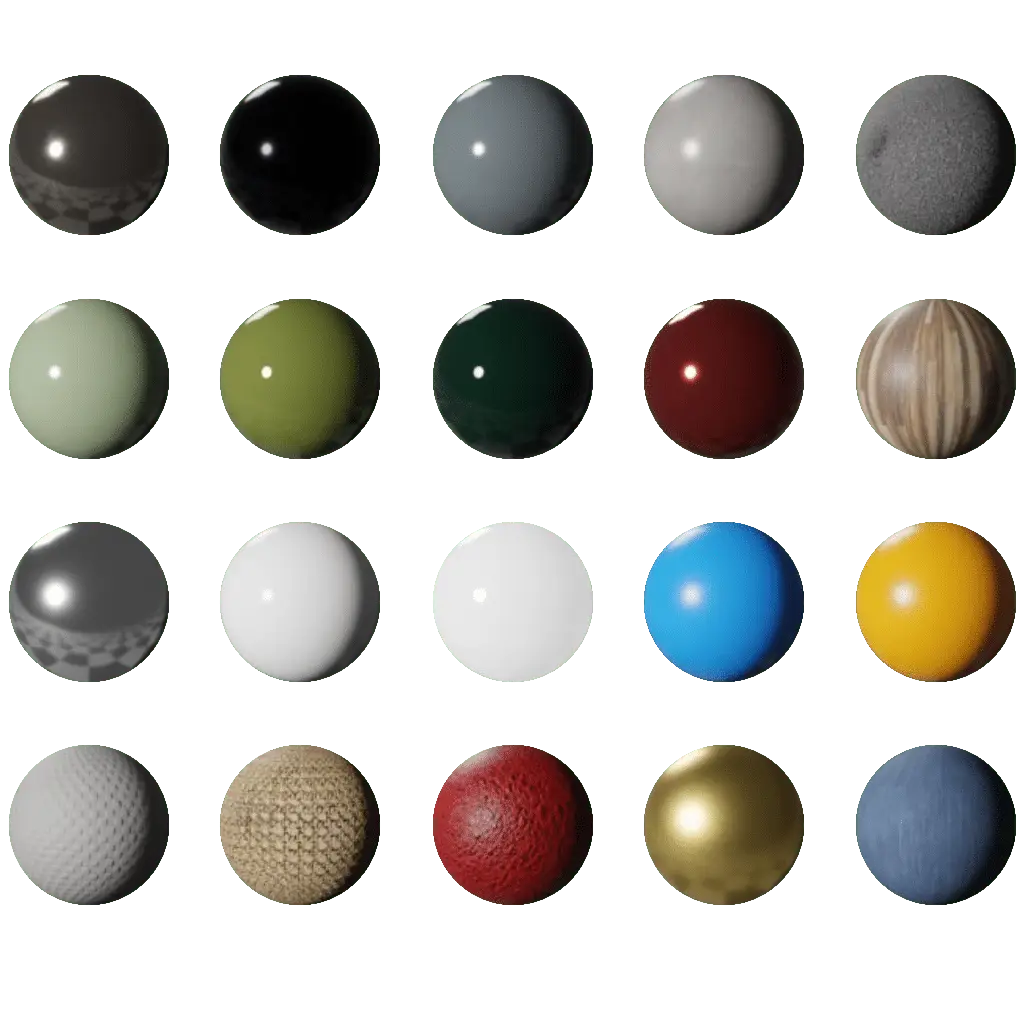
What is the difference between a texture and a 3D material?+
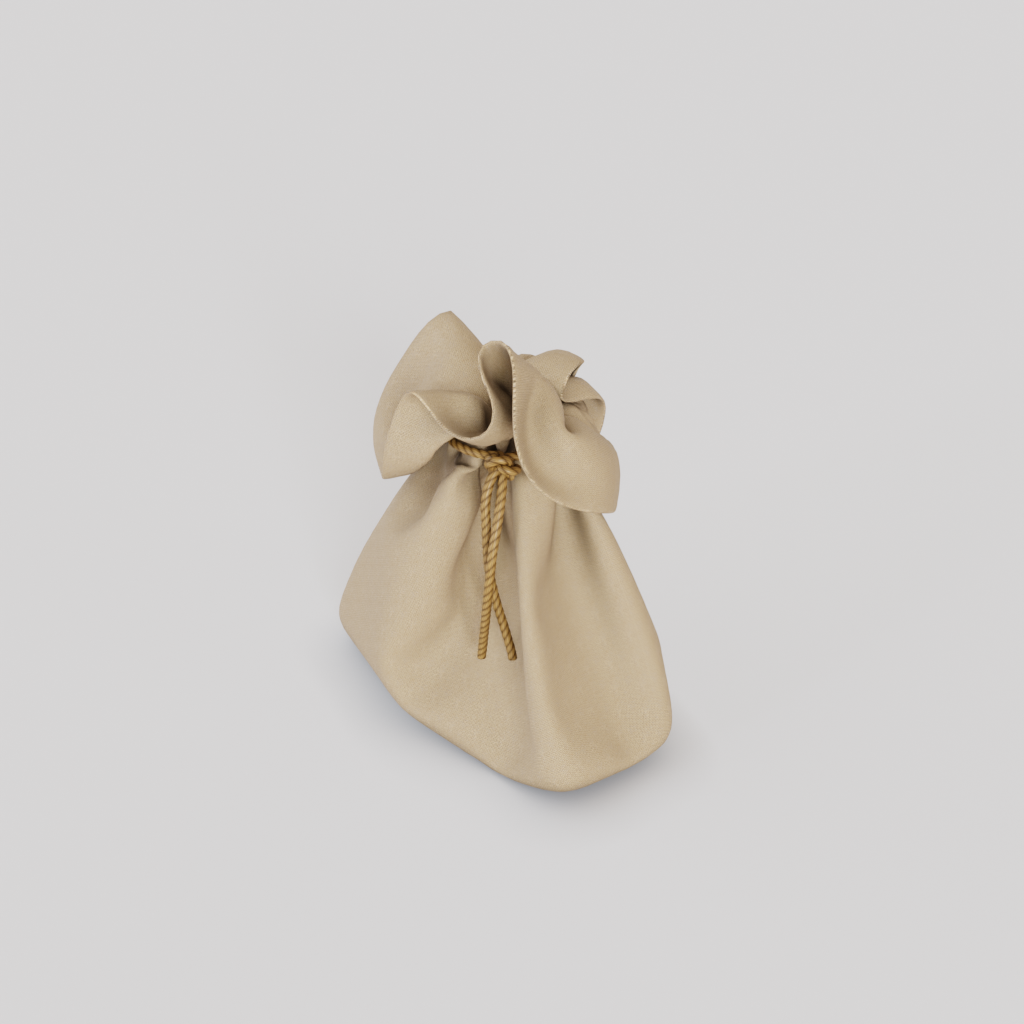
A texture is a 2D image applied to a surface (like a photo of fabric). A 3D material is a set of layered textures — colour, relief, reflections, shininess — that simulates the real physical properties of the material. It is the 3D material that gives your configurator its realism.
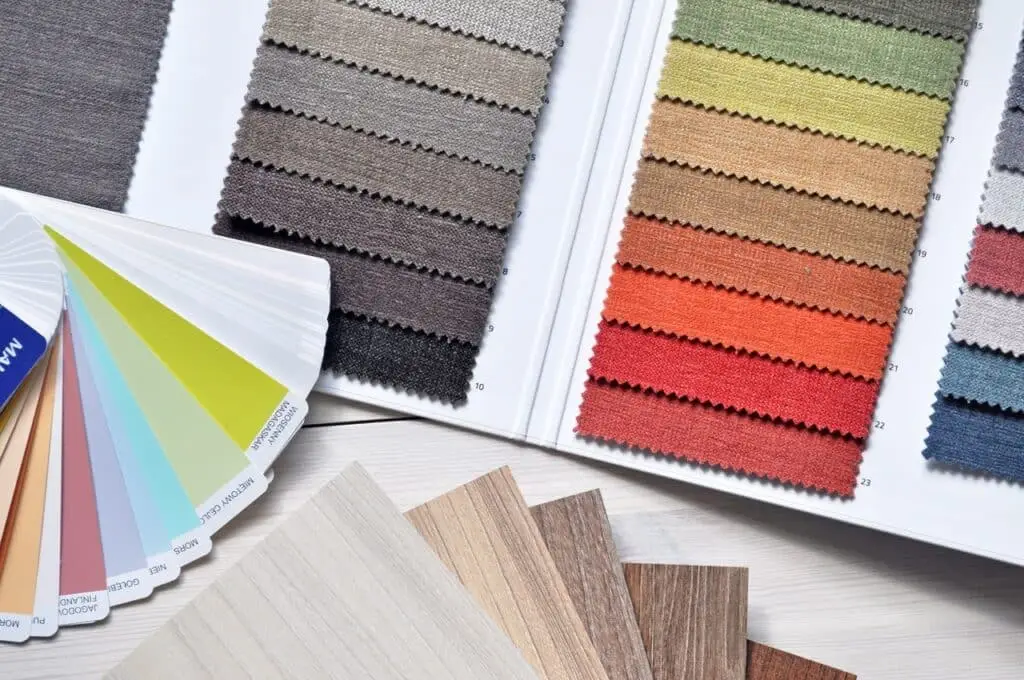
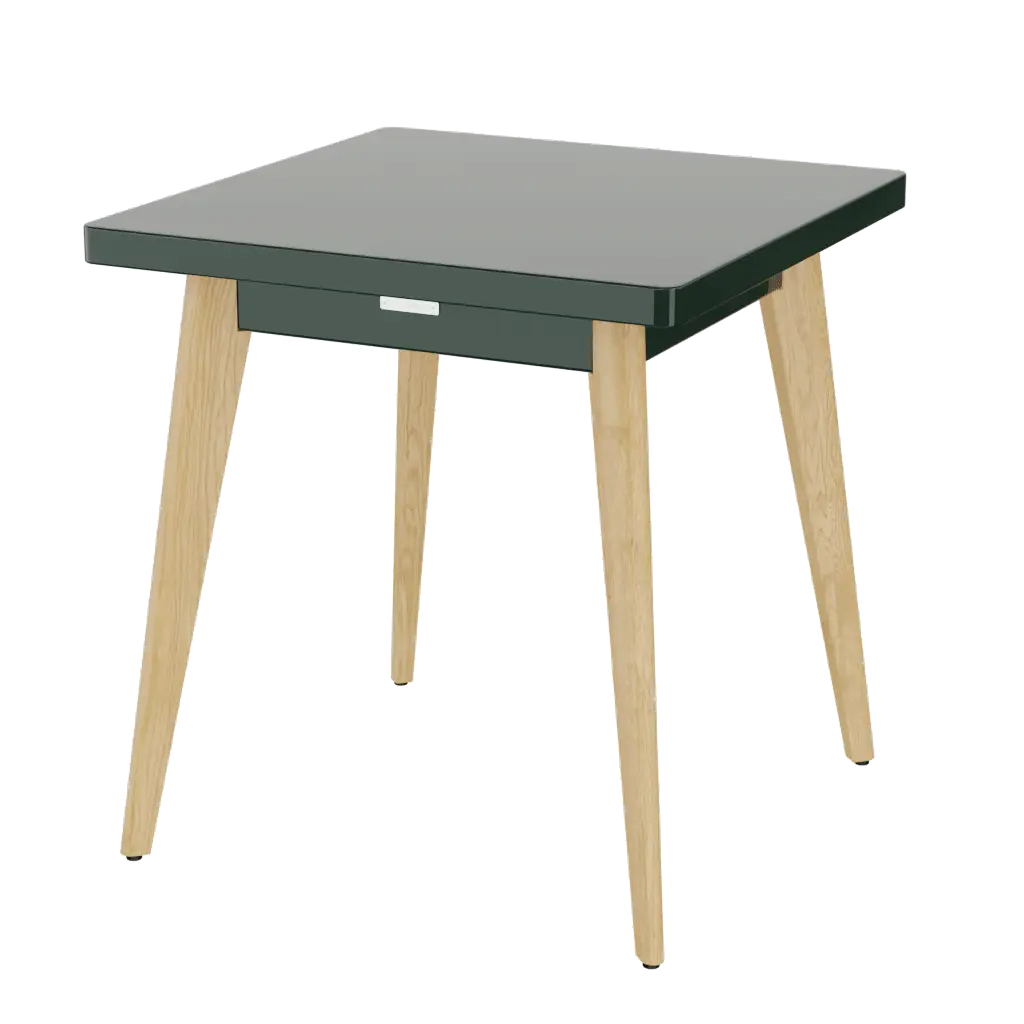
Can I integrate my own fabrics and finishes?+
Yes, and it is even recommended. Send us your physical samples or image files — we convert them into 3D materials calibrated to the exact scale of your products. Your customers see your real materials, not approximations.
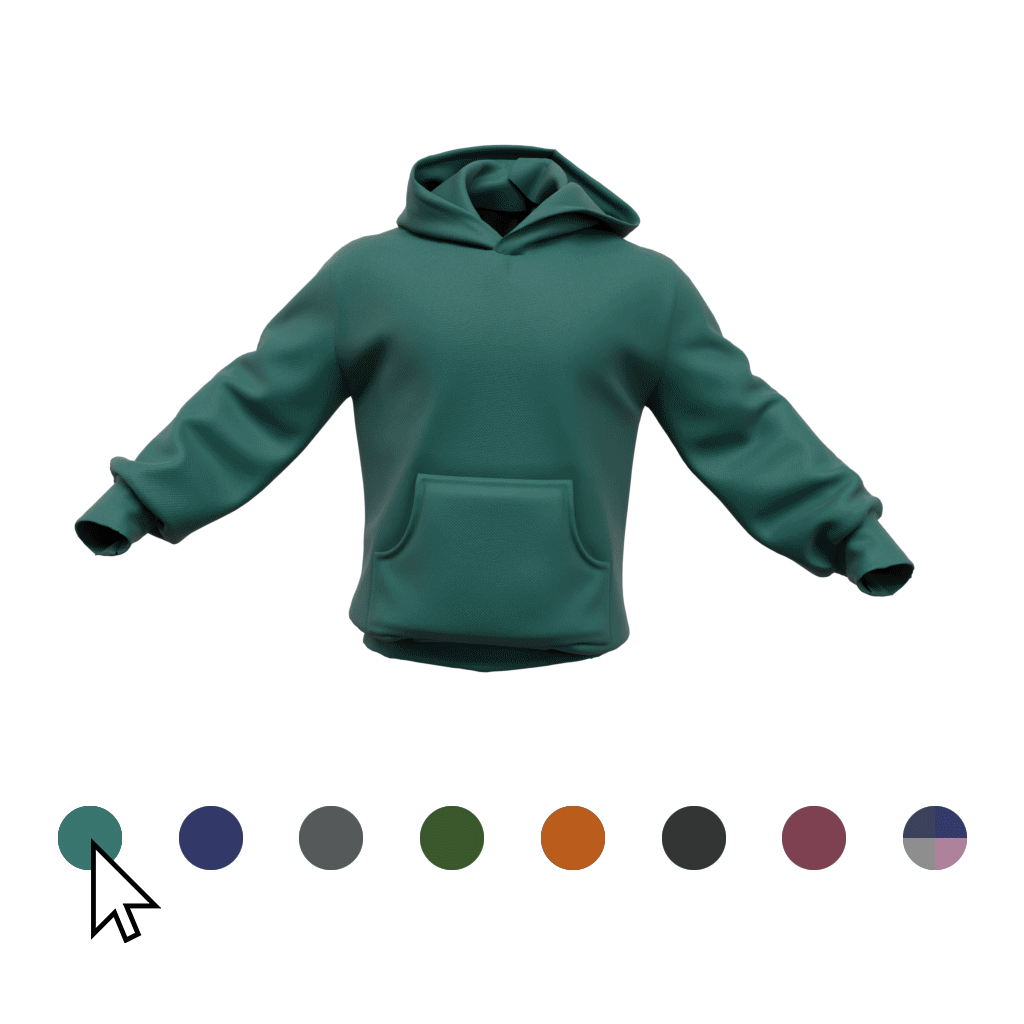
How long does it take to add a new material or colour?+
Between 24h and 72h depending on complexity. A solid colour on an existing material updates in a few hours. A new fabric with grain and relief simulation can take 2 to 3 days. We give you a precise estimate for each request.
Do textures work on mobile and in augmented reality?+
Yes. Every material is optimised for the web — texture files are compressed without visible quality loss. The rendering works equally well on iPhone, Android, tablet and desktop. Augmented reality uses exactly the same PBR materials.
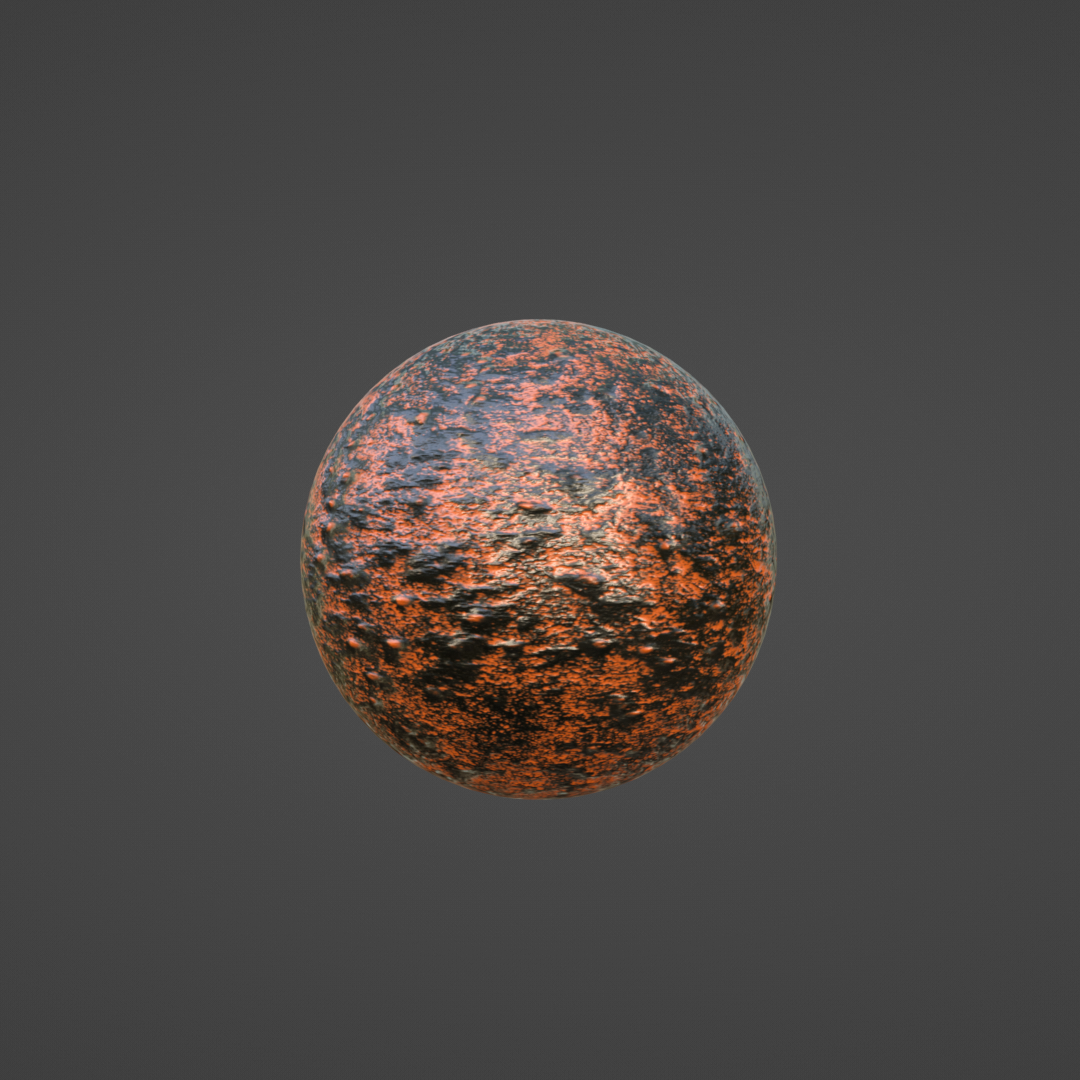
What is PBR and why does it matter?+
PBR stands for Physically Based Rendering — the technique that simulates how light actually interacts with materials. A complete PBR material has a base colour (albedo), a shininess level (roughness), relief (normal map) and metallic properties (metalness). That is why leather and velvet in the same colour look completely different.